 Ivan Cernja
How to Deploy a TypeScript Backend to AWS Without a DevOps Team
From local development to production without infrastructure expertise
You can deploy a TypeScript backend to AWS without DevOps expertise or dedicated infrastructure engineers. Infrastructure-from-code tooling handles VPC configuration, database provisioning, IAM roles, load balancing, and CI/CD pipelines automatically based on what your application code declares.
This approach works for solo developers, small teams, and companies that want to ship production backends without hiring DevOps specialists or spending weeks on cloud configuration. The guide below walks through deploying a complete TypeScript API to AWS, from local development to production, without writing any Terraform, CloudFormation, or Docker configuration.
What You Need (And What You Don't)
What you need:
- An AWS account
- Basic TypeScript knowledge
- A terminal
What you don't need:
- Terraform or CloudFormation experience
- Docker knowledge
- VPC or networking expertise
- A DevOps engineer
The Traditional AWS Deployment Path
A typical AWS deployment for a TypeScript backend involves:
- Networking: Create a VPC with public and private subnets, configure NAT gateways, set up security groups
- Database: Provision RDS, configure parameter groups, set up backups, manage credentials
- Compute: Choose between ECS, EKS, Lambda, or EC2. Configure task definitions, services, or functions
- Load Balancing: Set up ALB or API Gateway, configure health checks and routing
- CI/CD: Build Docker images, push to ECR, configure deployment pipelines
- Secrets: Set up Secrets Manager or Parameter Store, inject into applications
- Monitoring: Configure CloudWatch logs, metrics, alarms, and dashboards
- TLS: Provision certificates with ACM, configure HTTPS
Each step requires AWS-specific knowledge and can take hours to configure correctly. The total setup time for a production-ready deployment often exceeds a week for teams new to AWS.
Infrastructure from Code
Encore takes a different approach. You define what infrastructure your application needs in your TypeScript code, and Encore provisions it automatically in AWS when you deploy. The framework has over 11,000 GitHub stars and is used in production by companies like Groupon, who rebuilt their backend platform with a small team using this approach.
A database declaration:
import { SQLDatabase } from "encore.dev/storage/sqldb";

const db = new SQLDatabase("myapp", {
  migrations: "./migrations",
});
This tells Encore your application needs a PostgreSQL database. When you deploy to AWS, Encore provisions RDS with appropriate security groups, connection pooling, and credential management.
Building the Application
This walkthrough covers building and deploying a task management API.
Project Setup
Install the Encore CLI:
# macOS
brew install encoredev/tap/encore

# Linux
curl -L https://encore.dev/install.sh | bash

# Windows
iwr https://encore.dev/install.ps1 | iex
Create a new project:
encore app create task-api --example=ts/hello-world
cd task-api
Define the Service
Create a tasks service with a database. Each service in Encore is a directory with an encore.service.ts file.
Create tasks/encore.service.ts:
import { Service } from "encore.dev/service";

export default new Service("tasks");
Create tasks/db.ts:
import { SQLDatabase } from "encore.dev/storage/sqldb";

export const db = new SQLDatabase("tasks", {
  migrations: "./migrations",
});
Create the migration directory and first migration:
mkdir -p tasks/migrations
Create tasks/migrations/001_create_tasks.up.sql:
CREATE TABLE tasks (
  id UUID PRIMARY KEY DEFAULT gen_random_uuid(),
  title TEXT NOT NULL,
  description TEXT NOT NULL DEFAULT '',
  completed BOOLEAN NOT NULL DEFAULT false,
  created_at TIMESTAMP WITH TIME ZONE NOT NULL DEFAULT NOW()
);
Build the API
Create tasks/tasks.ts with CRUD endpoints:
import { api, APIError } from "encore.dev/api";
import { db } from "./db";

interface Task {
  id: string;
  title: string;
  description: string;
  completed: boolean;
  createdAt: Date;
}

interface CreateTaskRequest {
  title: string;
  description?: string;
}

interface UpdateTaskRequest {
  title?: string;
  description?: string;
  completed?: boolean;
}

interface ListTasksResponse {
  tasks: Task[];
}

export const create = api(
  { expose: true, method: "POST", path: "/tasks" },
  async (req: CreateTaskRequest): Promise<Task> => {
    const row = await db.queryRow<Task>`
      INSERT INTO tasks (title, description)
      VALUES (${req.title}, ${req.description ?? ""})
      RETURNING id, title, description, completed, created_at as "createdAt"
    `;
    return row!;
  }
);

export const get = api(
  { expose: true, method: "GET", path: "/tasks/:id" },
  async ({ id }: { id: string }): Promise<Task> => {
    const row = await db.queryRow<Task>`
      SELECT id, title, description, completed, created_at as "createdAt"
      FROM tasks WHERE id = ${id}
    `;
    if (!row) {
      throw APIError.notFound("task not found");
    }
    return row;
  }
);

export const list = api(
  { expose: true, method: "GET", path: "/tasks" },
  async (): Promise<ListTasksResponse> => {
    const rows = db.query<Task>`
      SELECT id, title, description, completed, created_at as "createdAt"
      FROM tasks ORDER BY created_at DESC
    `;
    const tasks: Task[] = [];
    for await (const row of rows) {
      tasks.push(row);
    }
    return { tasks };
  }
);

export const update = api(
  { expose: true, method: "PATCH", path: "/tasks/:id" },
  async ({ id, ...updates }: { id: string } & UpdateTaskRequest): Promise<Task> => {
    const existing = await get({ id });

    const title = updates.title ?? existing.title;
    const description = updates.description ?? existing.description;
    const completed = updates.completed ?? existing.completed;

    const row = await db.queryRow<Task>`
      UPDATE tasks
      SET title = ${title}, description = ${description}, completed = ${completed}
      WHERE id = ${id}
      RETURNING id, title, description, completed, created_at as "createdAt"
    `;
    return row!;
  }
);

export const remove = api(
  { expose: true, method: "DELETE", path: "/tasks/:id" },
  async ({ id }: { id: string }): Promise<void> => {
    const result = await db.exec`DELETE FROM tasks WHERE id = ${id}`;
    if (result.rowsAffected === 0) {
      throw APIError.notFound("task not found");
    }
  }
);
Test Locally
Start the development server:
encore run
Encore provisions a local PostgreSQL database and runs your migrations automatically. Test the API:
# Create a task
curl -X POST http://localhost:4000/tasks \
  -H "Content-Type: application/json" \
  -d '{"title": "Deploy to AWS", "description": "Without a DevOps team"}'

# List tasks
curl http://localhost:4000/tasks
The local development dashboard at localhost:9400 provides API testing, database inspection, and request tracing.

Deploying to AWS
With the application working locally, deployment to AWS takes a few commands.
Connect Your AWS Account
Sign up for Encore Cloud (free tier available) and connect your AWS account. Encore Cloud manages the deployment pipeline and provisions infrastructure in your account.
From the Encore Cloud dashboard:
- Go to your app settings
- Navigate to Cloud > AWS
- Follow the connection wizard to grant Encore deployment permissions
The wizard creates an IAM role with permissions to provision the resources your application needs.
Deploy
Link your local project to Encore Cloud:
encore app link
Push to deploy:
git add -A
git commit -m "Task API"
git push encore
Encore analyzes your code, determines what infrastructure is needed, and provisions it in your AWS account:
- RDS PostgreSQL with configured security groups and credentials
- Container hosting on AWS Fargate
- Load balancing with Application Load Balancer
- Networking with VPC and subnets configured appropriately
- TLS certificates provisioned and configured
- Monitoring with logs, metrics, and tracing
The deployment typically completes in 5-10 minutes. Subsequent deployments are faster since the infrastructure already exists.
Verify the Deployment
The Encore Cloud dashboard shows your deployed application, including:
- API endpoints with their public URLs
- Request traces and logs
- Database connections
- Deployment history
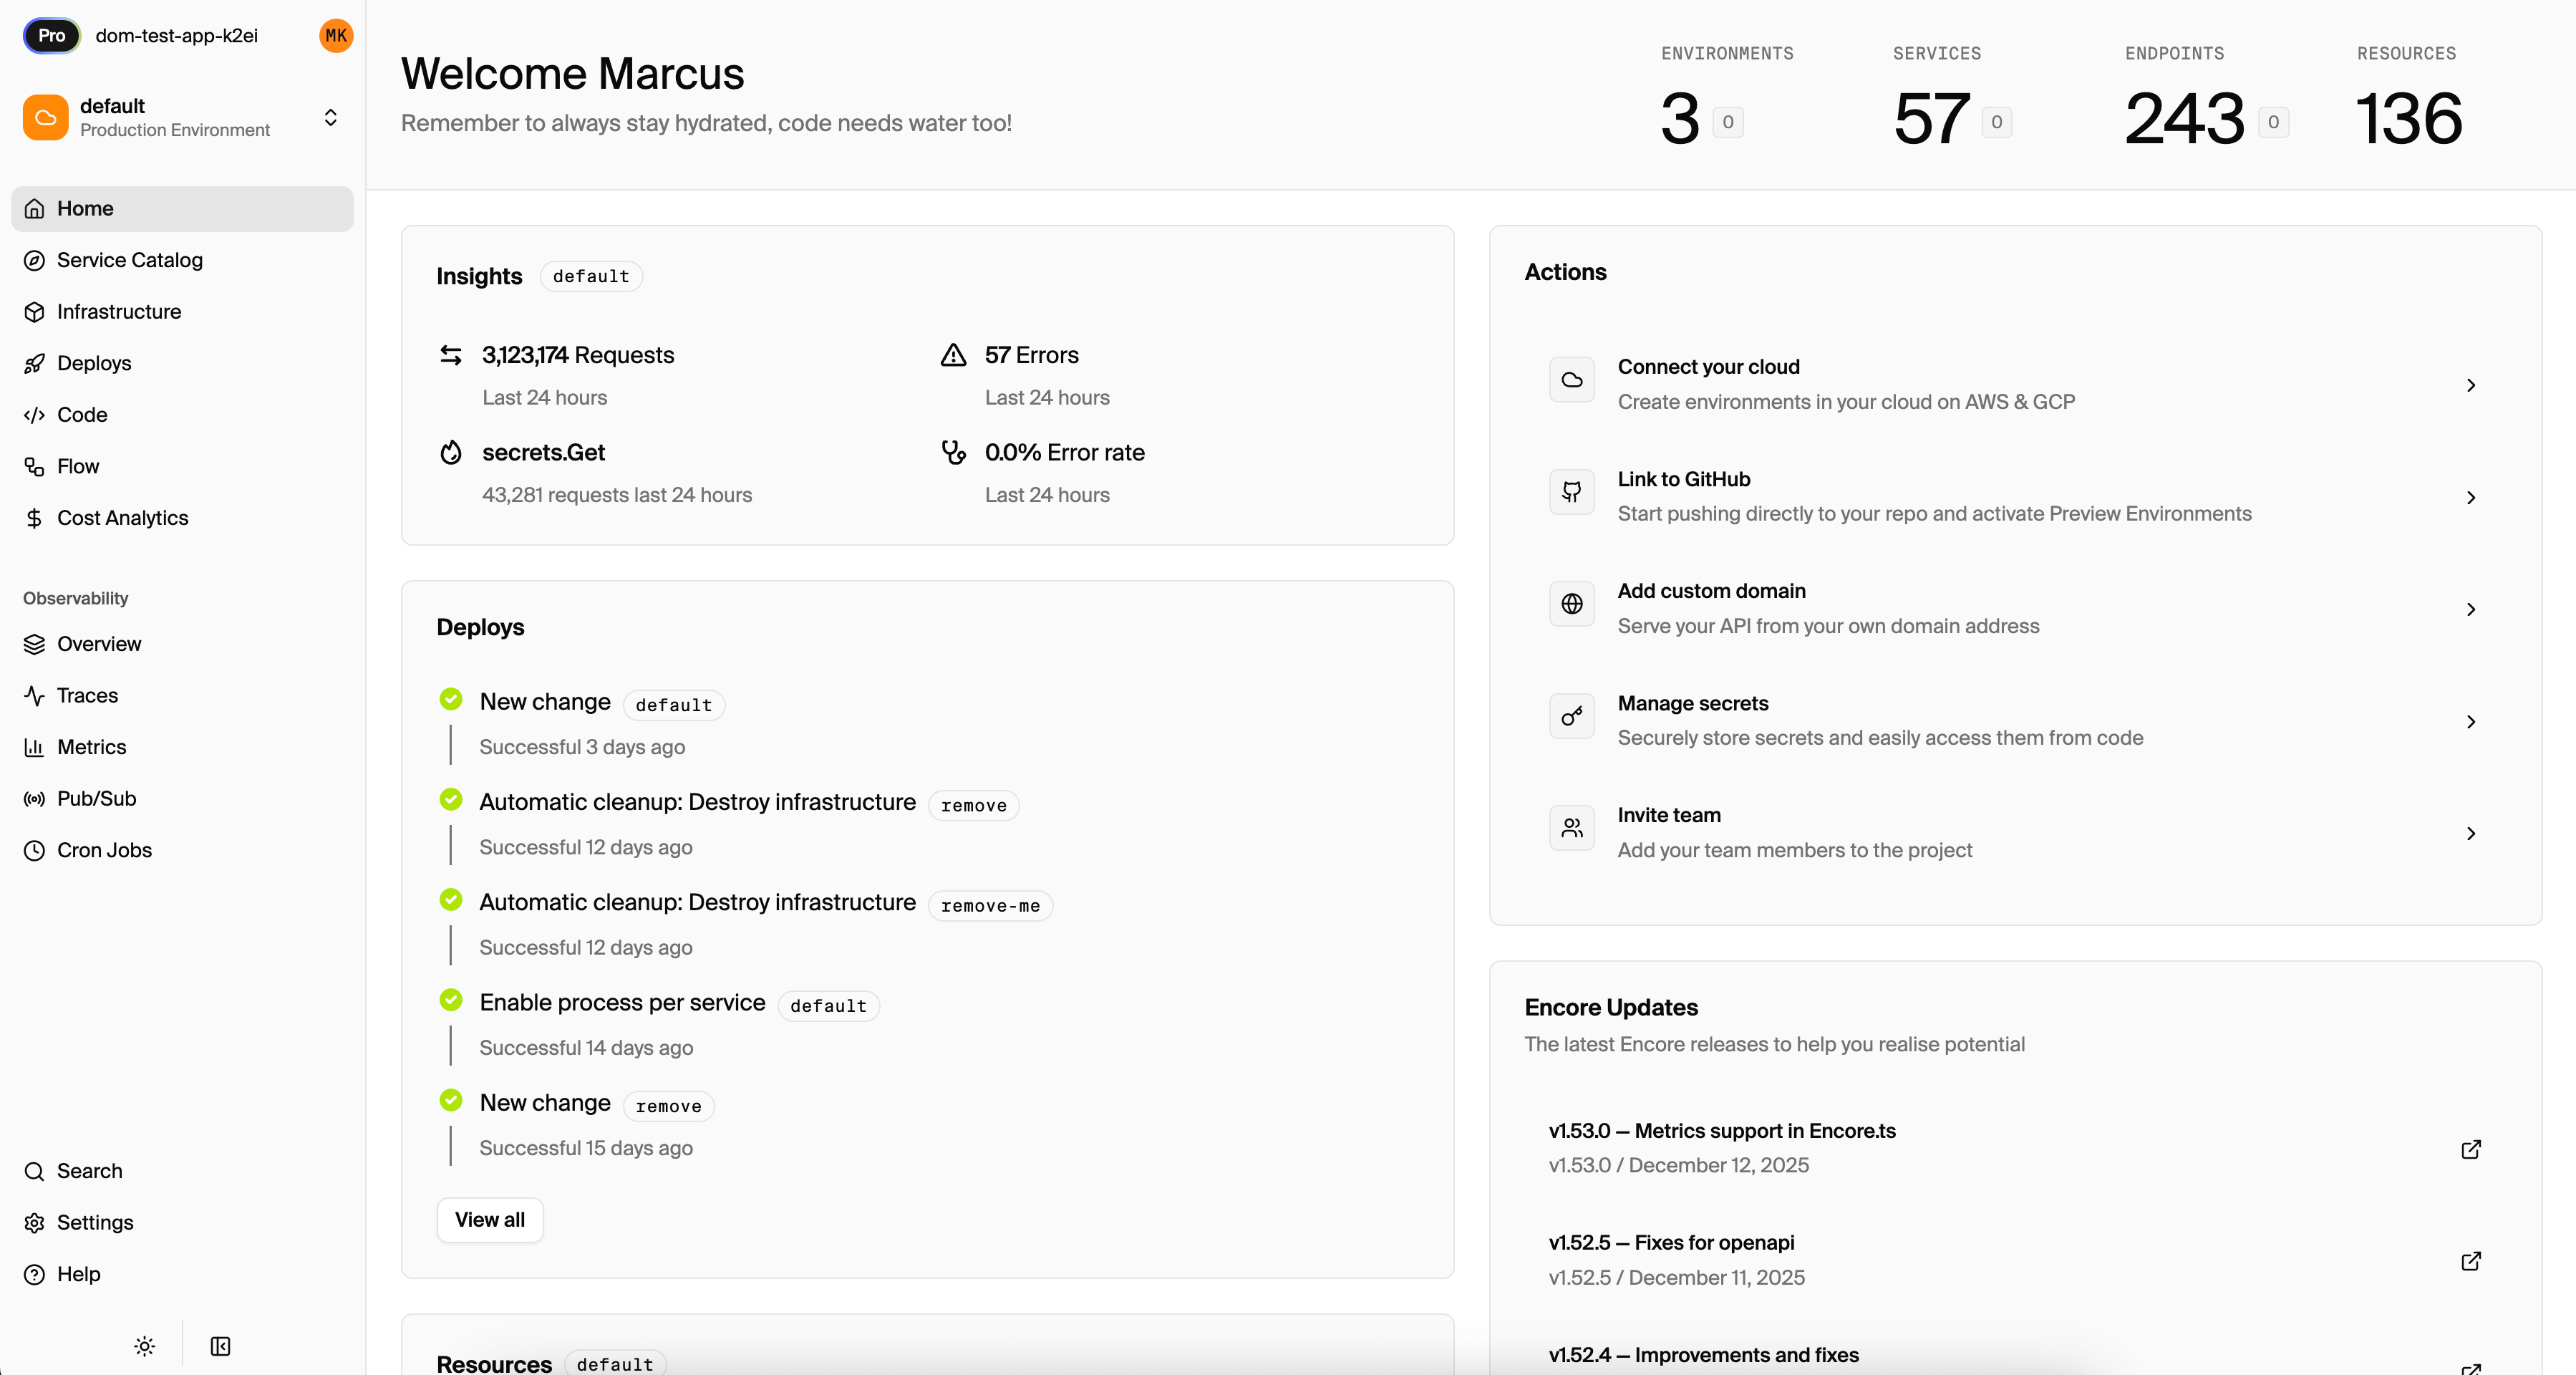
The service catalog visualizes your architecture and API endpoints:

Test your production API:
curl -X POST https://your-app.encr.app/tasks \
  -H "Content-Type: application/json" \
  -d '{"title": "First production task"}'
What Encore Provisioned
After deployment, your AWS account contains:
Networking:
- VPC with public and private subnets
- NAT gateway for outbound traffic
- Security groups with appropriate rules
Database:
- RDS PostgreSQL instance in private subnet
- Automated backups enabled
- Credentials stored securely
Compute:
- ECS cluster with Fargate
- Task definitions for your services
- Auto-scaling configured
Load Balancing:
- Application Load Balancer
- Target groups with health checks
- HTTPS listener with ACM certificate
Monitoring:
- CloudWatch log groups
- Metrics collection
- Encore-integrated tracing
You can view all of this in the AWS console, though you typically won't need to modify it directly.
Adding More Infrastructure
As your application grows, you can add more infrastructure by declaring it in code.
Cron Jobs
Add scheduled tasks by declaring a CronJob:
import { CronJob } from "encore.dev/cron";
import { api } from "encore.dev/api";

const _ = new CronJob("cleanup", {
  title: "Clean up completed tasks",
  every: "24h",
  endpoint: cleanupOldTasks,
});

export const cleanupOldTasks = api({}, async () => {
  await db.exec`
    DELETE FROM tasks
    WHERE completed = true
    AND created_at < NOW() - INTERVAL '30 days'
  `;
});
Encore provisions the necessary scheduling infrastructure when you deploy.
Pub/Sub
Add event-driven processing with Pub/Sub:
import { Topic, Subscription } from "encore.dev/pubsub";

export const taskCreated = new Topic<{ taskId: string; title: string }>("task-created", {
  deliveryGuarantee: "at-least-once",
});

// In your create endpoint
await taskCreated.publish({ taskId: task.id, title: task.title });

// In another service
const _ = new Subscription(taskCreated, "send-notification", {
  handler: async (event) => {
    // Send notification
  },
});
Encore provisions SQS or SNS as appropriate.
Secrets
Add secrets without managing AWS Secrets Manager directly:
import { secret } from "encore.dev/config";

const apiKey = secret("ExternalAPIKey");

// Use it in your code
const key = apiKey();
Set the secret using the CLI:
encore secret set --type prod ExternalAPIKey
Managing Environments
Encore supports multiple environments out of the box. Create staging and production environments from the dashboard, each with isolated infrastructure:
# Deploy to staging
git push encore staging

# Deploy to production
git push encore production
Each environment gets its own database, networking, and compute resources. Preview environments are also available for pull requests.
Monitoring and Debugging
The Encore Cloud dashboard provides production observability:
Distributed Tracing: Every request is traced end-to-end. Click on any request to see timing, database queries, and service calls.

Logs: Structured logs from all services, searchable and filterable.
Metrics: Request rates, latencies, and error rates for each endpoint.
Alerts: Configure alerts for error rates, latency thresholds, or custom metrics.
For teams that prefer existing tools, Encore integrates with Grafana and Datadog.
Cost Considerations
Encore Cloud is free for small projects. AWS costs depend on your usage:
- RDS: db.t3.micro is often sufficient for development and small production workloads
- Fargate: Pay for vCPU and memory per hour of container runtime
- Load Balancer: Hourly rate plus data processing
- Data Transfer: Outbound data transfer costs
For a small application with moderate traffic, expect AWS costs of $50-100/month. Encore's infrastructure provisioning is optimized for cost efficiency by default.
When This Approach Works
This deployment model works well when:
- Your team doesn't have dedicated DevOps engineers
- You want to focus on application code rather than infrastructure
- You need production deployments quickly
- You're comfortable with PostgreSQL for your database needs
It's less suitable when:
- You need infrastructure configurations that Encore doesn't support
- You have existing AWS infrastructure that must be reused
- Your organization requires manual control over all infrastructure changes
- You need databases other than PostgreSQL
Want to jump straight to a running app? Clone this starter and deploy it to your own cloud.